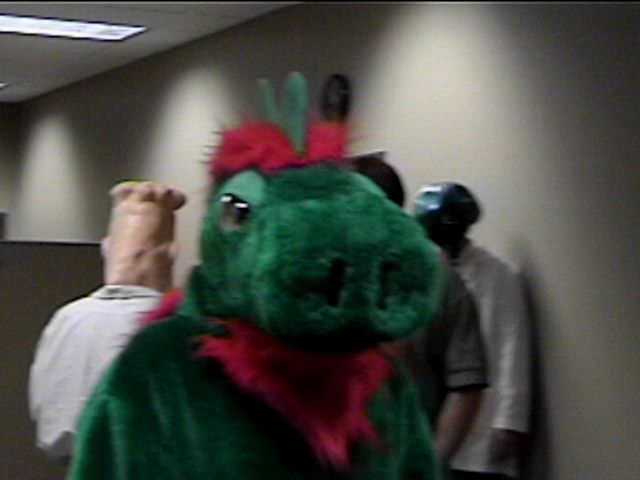
The Head
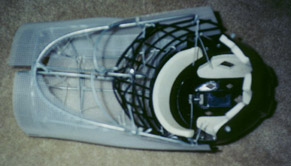
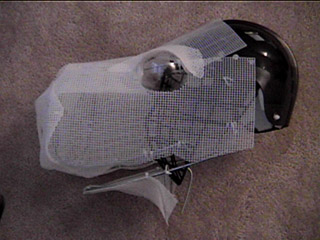
The first thing I worked on was the head. I started with a hockey helmet I found at a used sporting goods store. I got some tention wire and created the frame for the nose and mouth. The mouth is hinged so I can have it open when I open my own mouth. I attached a small spring from the middle of the mouth to the grill of the hockey mask to make the jaw stay closed.
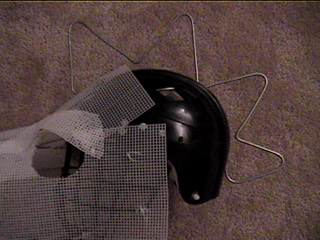
Next, I used some plastic mesh and wrapped it onto the wire frame with some small wire ties. This helped create and stablize the shape.
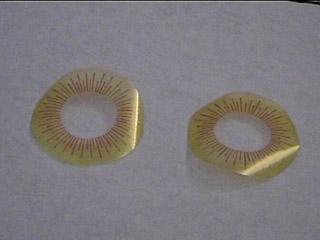
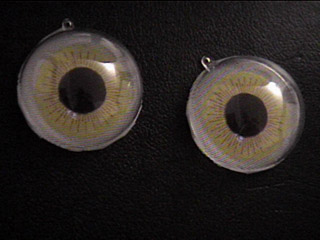
The next part I did was the eyes. I found some clear plastic hemispheres at a local craft store. I also took a metal strainer and spraypainted it white. The wires aren't woven, they are cut from one piece of metal. This way it won't ravel when cut. I used some yellow-tinted plastic sheets to cut out the irises. I used a red marker and drew the lines on the iris. This was tricky because they had to be straight.
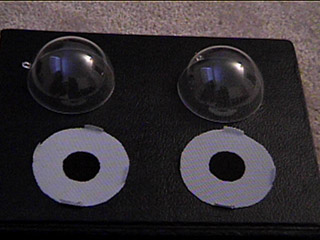
I traced the edge of a hemisphere onto the back of the mesh and cut out the circle. I left four tabs on the edge of the circle to attach the mesh to the hemispheres. Then I traced a smaller circle (the same size as the inside of the iris) for the pupil and filled it in using a black marker. I sprayed Elmers spray glue to the back of the iris and placed them onto the mesh. Using some tape, I attached the mesh to the hemispheres by the tabs. It would probably have been better to drill holes into the hemispheres and use the same wire ties to attach the mesh, but the tape seems to work. I attached the eyes to the mesh and wire frame with thread.
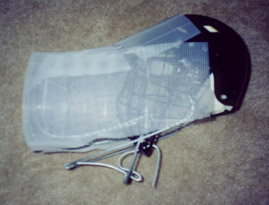
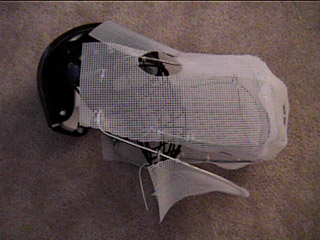
After I finished the eyes, I added wire to the top of the head for the ridge. I cut out some of the plastic mesh and attached it to the sides of the ridge for more support.
Now that the frame of the head was done, I began cutting out the pattern for the fur. I wrapped some paper onto the frame to see where the seams needed to be. I then cut the fur with this pattern. I sewed the nose and the ridge together with a sewing machine. I slipped these over the frame and stitched them into place. The red head fur and chin fur were attached to the frame and green fur by hand sewing.
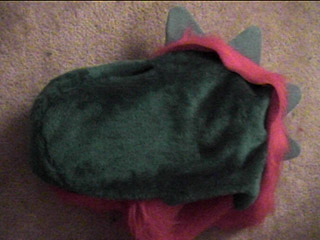
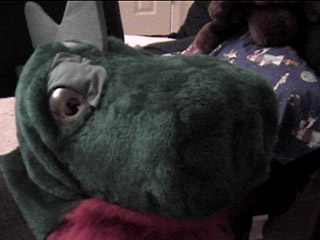
Around the eyes, I tucked the fur under and hand sewed the hem. This also have a nice eyelid effect. I used the green material for the eye lids hand sewed them to the head.
The front of the head was heavier than the back, so it tilted forward all the time. I fixed this by attaching a lead weight to the back of the helmet.
Finally, I finished the inside of the mouth. I took black material and covered the inside of the bottom jaw. I used some red foam and cut out a tongue. I attached this to the hockey face mask.
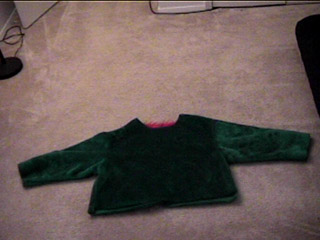
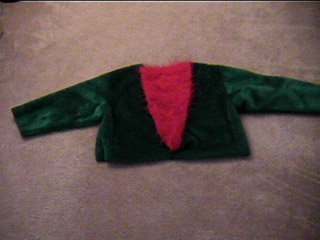
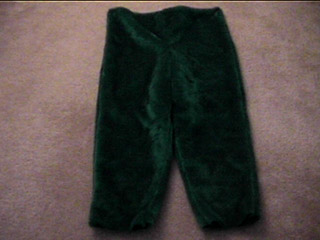
The body consists of pants and shirt. Both are made out of the green fur. The shirt has
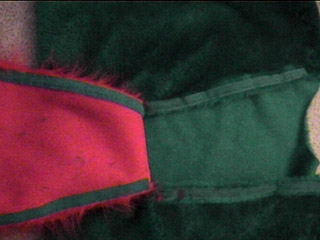
of red fur down the back. The red is sewn at the bottom and has two Velco strips on the sides to attach it
to the green.
I used two velcro strips in preparation of the wings. The wings will attach at the edges of the red fur.
Since the wings have not been built yet, I put together a backpack filled with stuffing to fill in the
extra space in the back where the wing mechanism will be.
I sewed the pants and shirt together at the waist.
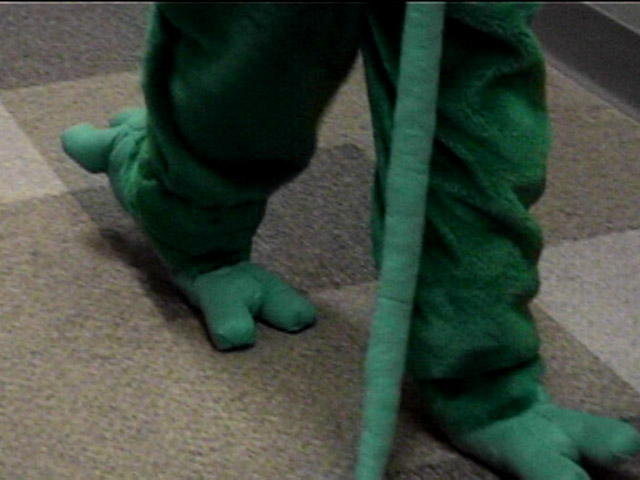
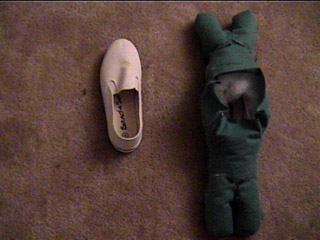
The feet are built around a pair of slip-on shoes. The bottom of the feet are open so the soles of the shoes
are exposed. I will later paint these green to match the material. I used stuffing to fill in the toes and
the back part of the foot.
I attached the green fur to the top part of the foot and sewed elastic in the top of that. This will
help blend the leg fur into the foot.
The hands still need to be revised, but this is what I have so far.
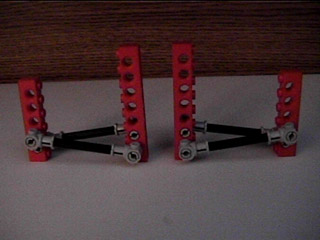
The hands have two fingers and two thumbs. The extra thumb is on the other side of the hand from the normal
thumb. I took Technic Legos and built a small device. The shorter end attaches to my thumb. The other end
will move in contrary motion to my thumb movements.
I took a pair of gardening gloves and attached the thumb contraptions to them. I then attached foam around
the thumb, the extra thumb, and the fingers. I added some foam to the base of the palm to help blend in the bars from
the device. Next, I cut a pattern out for the hand now that the shape of the hand
was created.
After sewing the hand together, the thumb device didn't work as well as it did before I build the rest of the hand.
I am going to have to revise this.
Right now, the tail is just a tube filled with stuffing. The end of the tail is forked, and the base of the tail is sewen to the pants.
Eventually, I will develop a better tail that will swing.
The wings have yet to be developed.
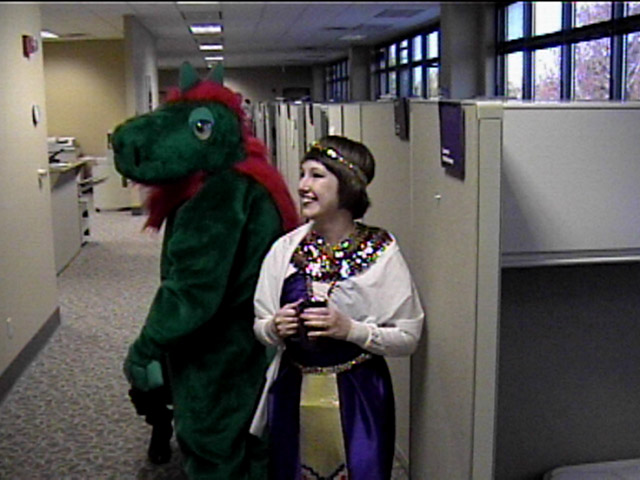
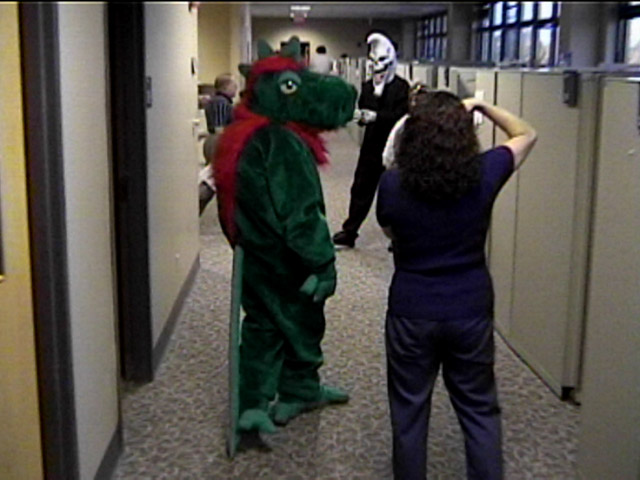
And this is the completed suit! (click to see a larger pic)
The Body
The Feet
The Hands

The Tail
The Wings
The Whole Thing